
Noisy
Temporal
As demonstrated by Inconvergent, B-Splines can be used to produce beautiful generative artworks. By applying noise over time to B-Spline control points, and layering temporal snapshots it's possible to build up stunning images.
Using Unity, and Dreamteck Splines, I developed a quick system to render super high resolution B-Splines.
Below, I have documented an outline of the process I used to create all the artwork on the page.
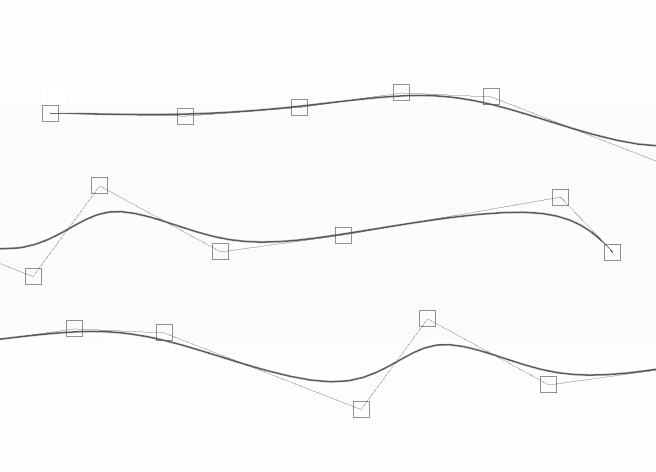
The Setup
Initial State
To keep the process of generating and testing variations quick, it's important to separate blocks of settings into several easily modifiable and reusable assets, or components. Usually I handle serialization myself using JSON, but since this project doesn't require any external modification, I used Unity's native ScriptableObjects.
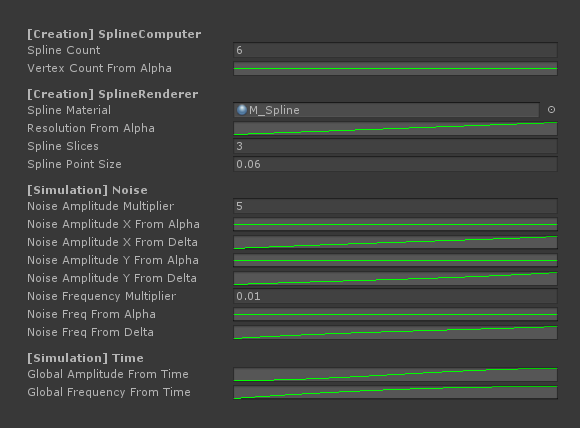
A custom Renderer class instructs a referenced SplineHandler class to set up the splines, and to update their state according to its needs. The SplineHandler has several settings objects which are divided up as follows;
RenderSettings. TheMaterial, Mesh Resolution, Thickness of the splines that are generated.
NoiseSettings. he control curves and multipliers for amplitude and frequency.
GenerationHandler. The class which creates the splines in an initial configuration (SplineCount,Vertex Count).
To create the Splines, I store an array of a custom spline point structs, one for each point on each spline. Each point contains an initial position, seed, some component references, and the two primary values;
Alpha (Y). 0-1 value representing which spline the point is on. If i create 40 splines, the 20th spline will have an alpha of 0.5.
Delta (X). 0-1 value representing how far along it's spline the point is. On the linear example, the point on the left would have a delta of 0, and the right would have a delta of 1.
TheGenerationHandler uses the Alpha and Delta values to create the initial positions, and theNoiseSettingsuse them to seed the frequency and amplitude of a point at any given time value.
The Noise
Curse of curves
Once the initial splines have been created and configured, noise is applied to deform the B-Splines in interesting ways. There are two important rules when creating simulations such as these;
1. All noise must use a Seed. This means that given the same input values a simulation will compute the exact same results.
2. Simulations must be calculated in "absolute time". It must be possible to evaluate a simulation without information about previous frames.
The SplineHandler class with a single Coroutine strong called Evaluate(float time) iterates across all the spline points, and calculates a Vector offset from their initial position, based on a combination of spline point properties (alpha,delta), and the simulation time.
Time is used to control the quality of the end results.The same simulation can be rendered in 6 frames or in 600 frames - The more frames, the softer the end result. In order to ensure consistent exposure the contribution of each captured frame to the final image is proportional to the total number of frames being rendered, as discussed below.
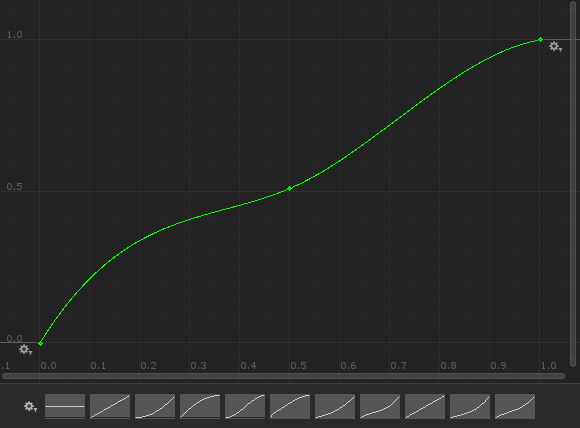
There are 6 curves which will control the noise. 3 curves for amplitude, 3 curves for frequency. Each curve group multiplies the 3 curves together - One against Alpha, one against Delta, and one against Time.
Multiplying the two curve groups results in two float values; One for frequency, one for amplitude. Using these two values,aNoiseclass can be evaluated, giving an XY result for a points positional offset.
Once all the spline points have been moved, all the spline meshes are re-built.
Since DreamTeck didn't build in an "On-Call" update method for their spline solution, I modified their system to allow me to only update their splines when I need to. This massively improved performance.
This image shows the end result if the spline points are also rendered. Since the renders layer up over time, the image get more and more noisy as time passes; This is the reason that simulation duration must not be coupled to render steps - Even short simulations work very well, but it's important to have a high number of render steps to keep the end result smooth.
When rendering lines, there are several options. One option is to use dots; This allows us to implement a variable point density (If required), which is useful when working with high frequency noise, as the dot count would be directly proportional to the spline length.
With splines; no such luck. High frequency noise requires more spline points in order to increase the resolution of the generated mesh used for rendering. In order to allow for this, I also created a curve for DensityFromAlpha, which is less useful thanDensityFromFrequency, but since the splines are only generated once, it was the easiest way to handle this. For a more complex simulation I might consider re-creating the entire spline every single frame, just to allow for a density directly proportional to the frequency.
The noise I used was a basic Simplex C# noise. Different noise algorithms would produce slightly different results, but the majority would be largely indistinguishable; Since CPU bottlenecks would come from mesh generation, not computation, this was not a concern.

The Capture
Hunting for Pixels
To save these pieces of art from Unity, It was important to find a way to store and save frames.
The videos on this page are rendered as 512px sequences, but the still images are rendered at 16k in order to ensure a superb print quality if printing to canvas. The process of capturing at this resolution is outlined below.
The total render time for the whole simulation was about 2 minutes; Most of this time is actually spent converting RenderTextures to EXRs, although the mesh generation also takes a few ms.
By following the process several times with different noise configurations, post production can be used to layer together images and produce colourful results.
In order to ensure that end results have value ranges between 0 and 1, the alpha contribution of each frame is proportional to the total number of frames being simulated. This is setup up so that theoretically if a spline did not move at all, you wouldn't see nasty alpha layering where the splines alias.
As well as applying noise over time, I wanted to see some bold lines come through in the end result. In order to do this, I evaluate the simulation time against a curve - A curve which flattens in the middle, causing everything to temporarily slow down in the middle. Since the lines move less when they are slow, they layer over each other more for a brief period, which gives a bold line in the end result.
Frame Setup
Set global properties on materials. Calculate current simulation progression (Normalised and Stepped).
Evaluate Spline Points
Apply noise to all spline points by evaluating curves against point properties and simulation time.
Generate Meshes
Generate spline meshes from stored points. Ensure mesh is camera-facing.
Blit Frame
For each tile, capture a temporary RenderTexture, and Blit it over that tile's existing texture.
Capture
Either per frame, or at the end of the simulation, save all final textures as RGBAFloat EXR.
Post Production
Load EXR/s, apply color filters, curves, gradient maps, layers.
Resolution
Unity supports native Texture2Ds of up to 4k. I knew this was not going to be high enough, so the approach I used was to render tiles. The capture step takes place within a single frame, so temporal locking was not an issue.
Using some fairly simple maths, I set up a "tiled shot" camera system, whereby the rendered area of space (usually a 10 by 10 unit square) could be broken down into any squared number of tiles (1,4,9 etc). Each tile can be rendered at up to 4k, allowing for final image resolutions of up to 64k.
Since the layering of frames happens in Unity, Unity must store all the tiles in memory, which gives a hardware limit to the resolution. In theory, the tiles could be saved out to a temporary location and cleared from memory, or the whole piece could be rendered and saved in multiple passes. Both of these solutions would remove the hard limit, but I have yet to require such high resolutions.
Depth
Post production is easiest when working with high quality source files. Floating point precision on an image is usually not possible, but thanks for the new EncodeToEXR Unity method, a RGBAFloat RenderTexture can be saved. With this bit depth, exposure can be finely tuned in Photoshop without any risk of banding.
Working with floating point textures is actually quite trivial in Unity. Just be aware that the texture memory is much higher on such high precision textures. The only other down side to using them is that MSAA will not work if you are rendering in HDR (Which you should be, since you have floating point precision). Given the resolutions being captured I did not find this to be an issue.
Quick Tip; Converting a RenderTexture to a RGBAFloat Texture will only work if the source RenderTexture is also RGBAFloat. Any other format will crash.

Credits
Derivative Design
Much of this work on this page is directly inspired by or derived fromAnders Hoff, and also indirectly related to works by J.Tarbell. The work over onInconvergentis excellent, and anyone interesting in this field should definitely check it out.
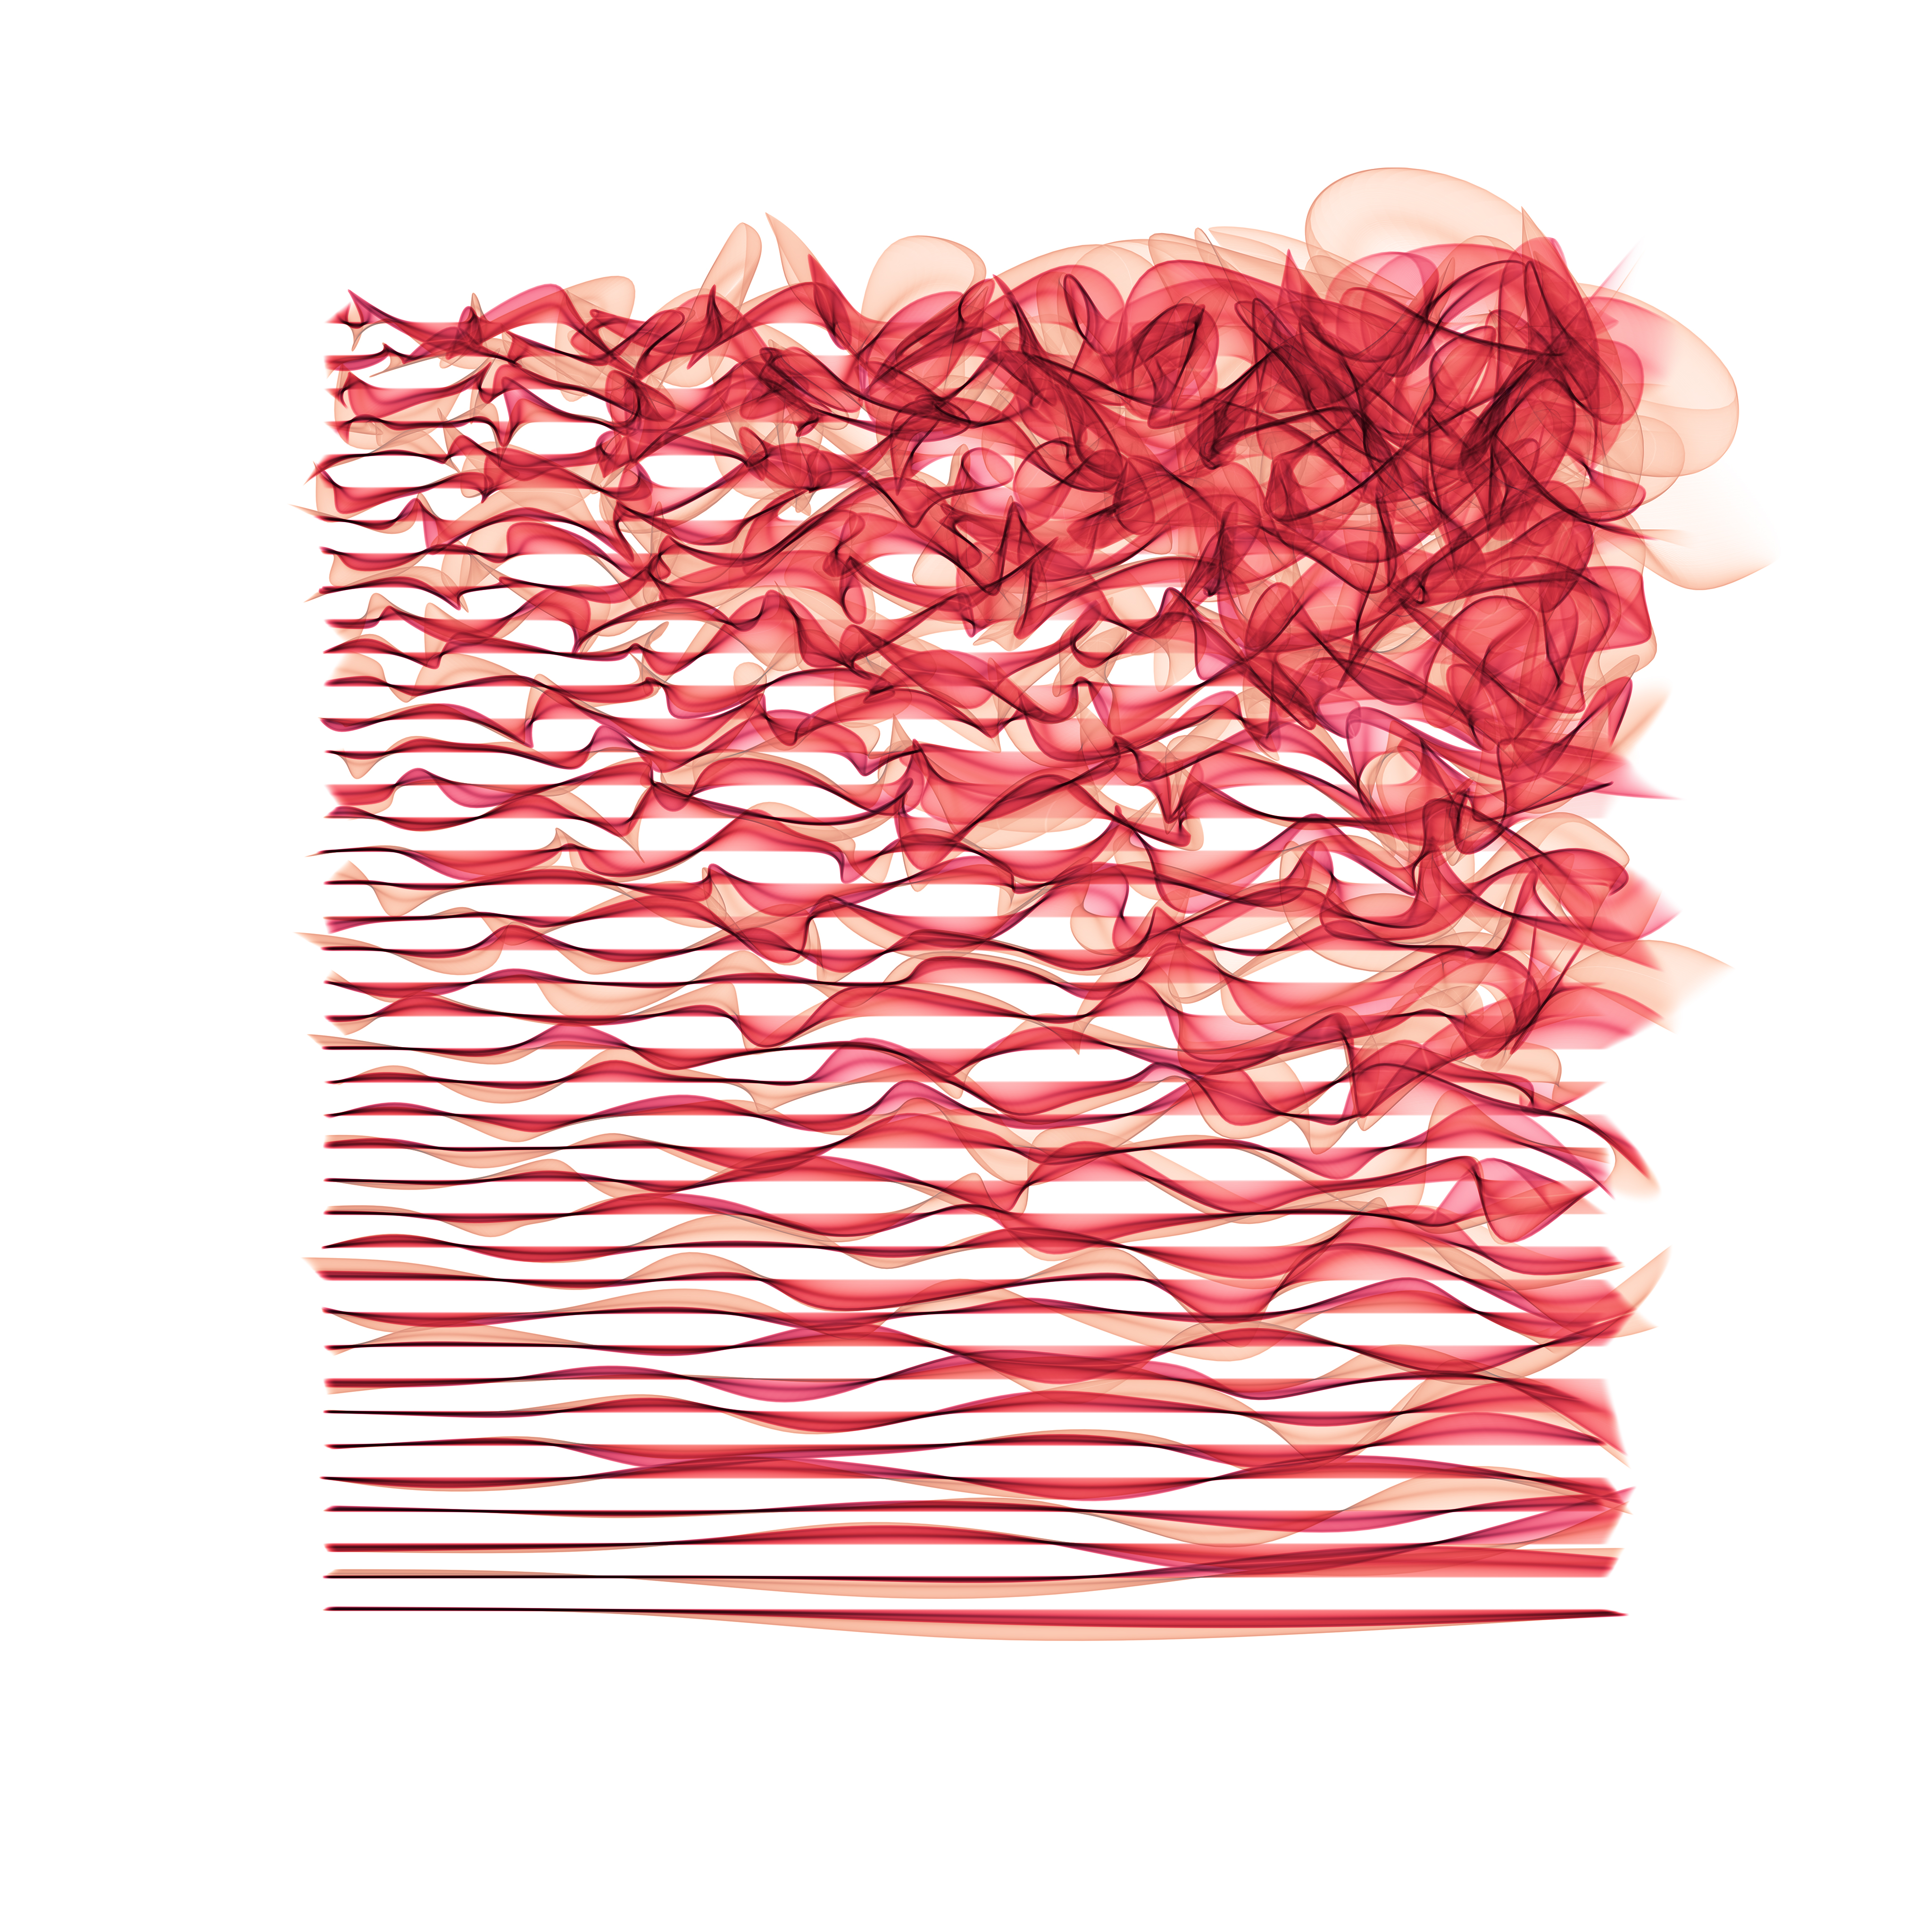
The images produced below are all produced inUnity and composited in Photoshop.
Final Note
From the author
There are still lots of cool things left to try out here! I'm going to have a go at Anders technique of using dots instead of lines, and I'm going to have a go at running noise through a doctored flow map. I might also have a look at changing spline material properties of time/based on frequency etc. This could give some cool "heat map" effects.
If you'd like to know more about the process, or you'd like a high resolution of one of the pieces for print, then feel free to send me an email.